Saturday's rescheduled Card Classes were an incredibly amazing experience, while my flu still annoyed the creepers out of me, it was a great learning and sharing time with my few, but great students. I wasn't strict about advanced registrations this time, nor did I promote the workshops as much as I did last time... I hadn't so much time this time around. :)
I wanted to share what my students pieced together today. Both from the Vintage Card class as well as the Stamped Card class.
For the vintage card class, I had laid out my vintage stamps, some archival ink, distressing ink, the adhesive, cutter and cardstock along with some printed and patterned paper. Some of it was Union Square by My Mind's Eye... and some were from Glitz. They were beautiful papers I thought would be fun to use for this class. My student did great putting these together, and that too on her own. We played around with placement, she made decisions on what looked better, what didn't work... what she liked and what more she wanted to do. She selected the stamps, inked and stamped them as well. I was there watching giving input as I could and critiquing where I thought appropriate.
I think it turned out fab! and that, too for her first attempt. :) She claims she hasn't creativity, and I proved her wrong. Hehe. Remember what I told you about aesthetics? *wink*
Great first class and first attempt, Alhamdulillah!


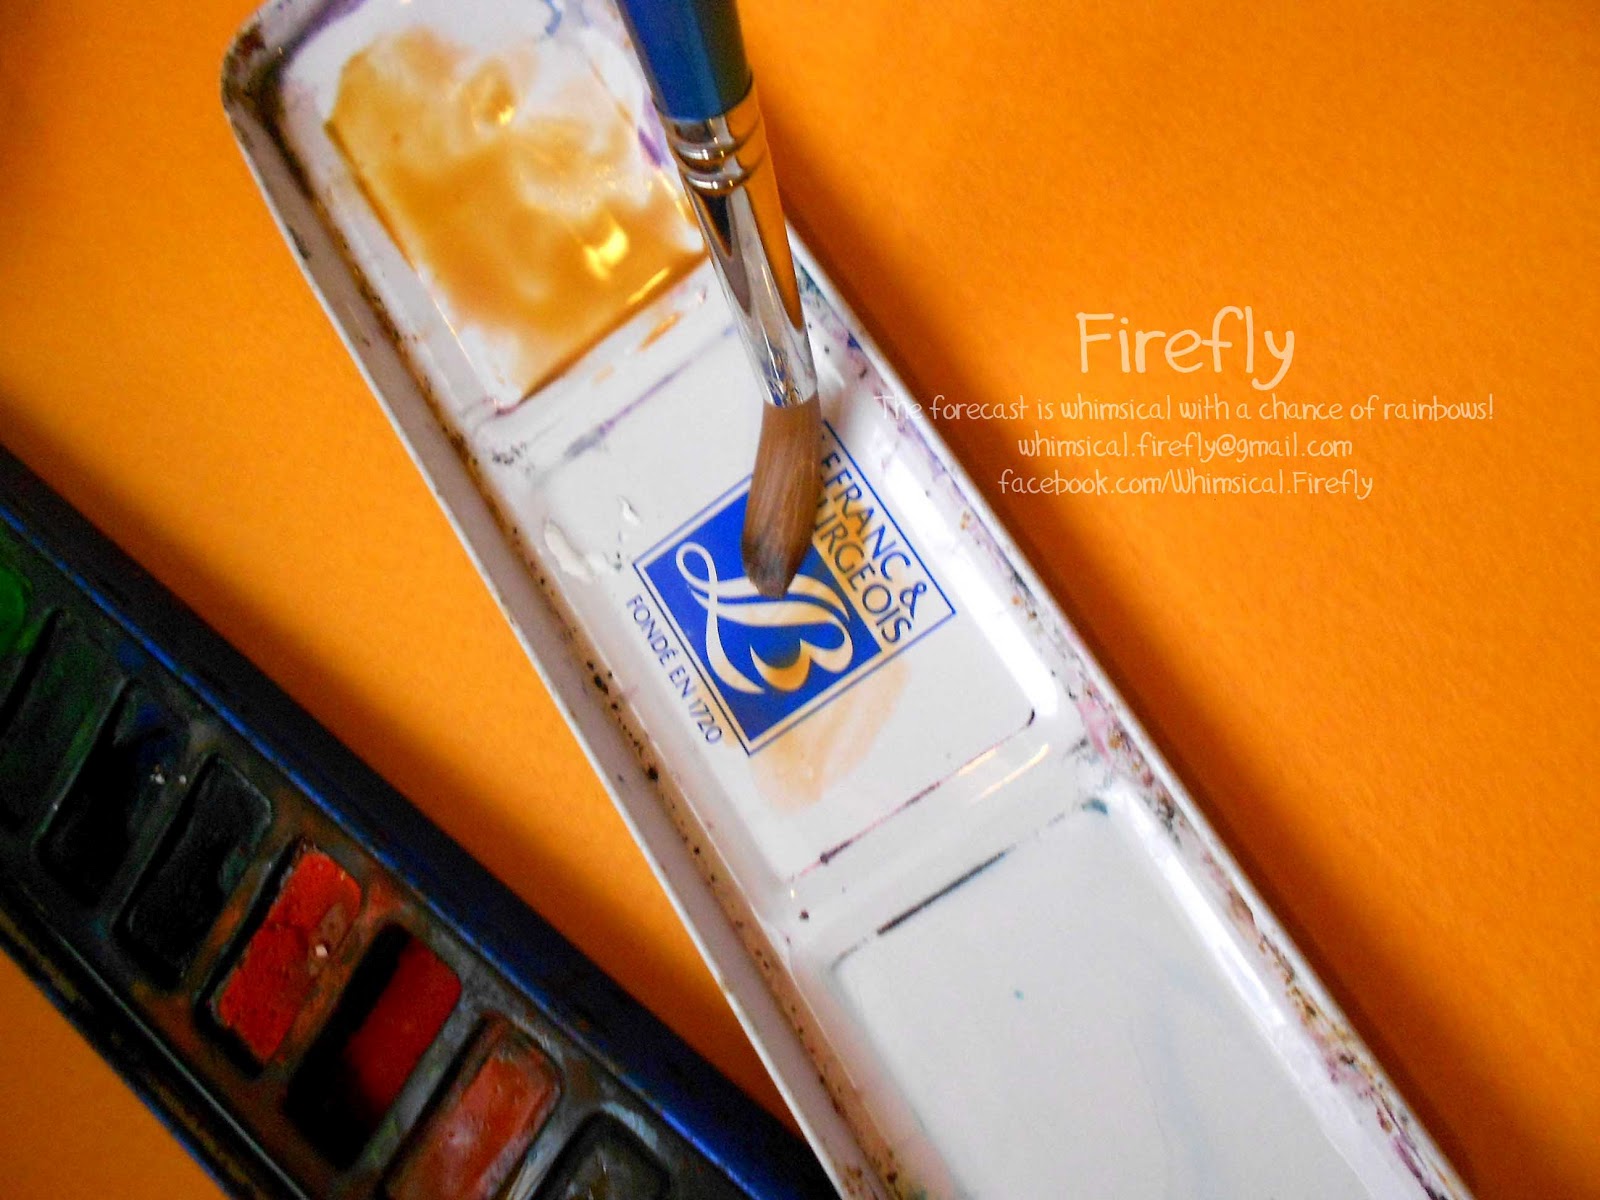
While I had set out 4 card styles and techniques for the class, we focused on two. :) My student picked up on how to use clear and cling stamps, how to ink with different inks as well as render images and treat them with other media. We planned this out while I cut down card paper, I gave her 10 seconds to pick out a stamp she wanted to work with for the rendering and water coloring technique. I also wanted her to be more confident on choosing her colors and making decisions spontaneously while working, we chose a color scheme next. Initially she wanted purples and pinks, and decided to go for warmer colors instead.

Do you guys like what these guys came up with? Your feedback and thoughts, super appreciated :)
I wanted to share what my students pieced together today. Both from the Vintage Card class as well as the Stamped Card class.
For the vintage card class, I had laid out my vintage stamps, some archival ink, distressing ink, the adhesive, cutter and cardstock along with some printed and patterned paper. Some of it was Union Square by My Mind's Eye... and some were from Glitz. They were beautiful papers I thought would be fun to use for this class. My student did great putting these together, and that too on her own. We played around with placement, she made decisions on what looked better, what didn't work... what she liked and what more she wanted to do. She selected the stamps, inked and stamped them as well. I was there watching giving input as I could and critiquing where I thought appropriate.
I think it turned out fab! and that, too for her first attempt. :) She claims she hasn't creativity, and I proved her wrong. Hehe. Remember what I told you about aesthetics? *wink*
Great first class and first attempt, Alhamdulillah!


It was good to know, that she tried to make both cards look super different :)
For Stamped Cards, I had a very sweet kid join in. She has a super special passion for making cards... but becomes a little afraid when she has to put things down on the actual paper. I panicked initially, but after speaking to her about being spontaneous, and looking at compositions... why some work better than others, she tried a few and got to piece this together. We're working on her colors and she's doing a fab job really learning! Alhamdulillah. This is the piece she created after attempting a few.. this shows the idea of using stamps to create a background, middle ground and foreground... the butterflies were perfect here... there's some movement now :) Very proud of you kiddo! And very happy that you went home totally energized and excited about the work you put together today! ♥ The design was about keeping things simple.

While I had set out 4 card styles and techniques for the class, we focused on two. :) My student picked up on how to use clear and cling stamps, how to ink with different inks as well as render images and treat them with other media. We planned this out while I cut down card paper, I gave her 10 seconds to pick out a stamp she wanted to work with for the rendering and water coloring technique. I also wanted her to be more confident on choosing her colors and making decisions spontaneously while working, we chose a color scheme next. Initially she wanted purples and pinks, and decided to go for warmer colors instead.
Throughout the process, we talked about how to make our compositions and layouts work by building on them with layers and color. She had already imprinted the stamp, and we wanted to build around it, instead of starting a new one. We did some mark making, which was new to her. Taught her a new way to shade and treat her images and textures. And she did great! We gave some washes to blend the water color, instead of the watercolor cakes, we used the pencils this time. Towards the end, we added one more layer of stamps to complete the card and balance out the composition... and this is what she put together. It's beautiful. And totally her own! It's an amazing feeling to see progress in the work your students put together, and that, too in such a brief span of time :)

Do you guys like what these guys came up with? Your feedback and thoughts, super appreciated :)