Tuesday, 10 July 2012

Distressing Technique: Age and Old

Everyone asks me about how to age paper... to give that old vintage look... corroded, distressed. This tutorial shows you how with water color and your paper.


I have this I'm going to be distressing...


Dab your paint brush in some water...


Take it to the tray, brush out excess water back and forth, I prefer this over tissue paper, as tissues take in way too much.


I start making my color now.. I want a tea stain look.


I mix the mustard, the rust and the brown.


Taking in some more water there...


Mixing it there.
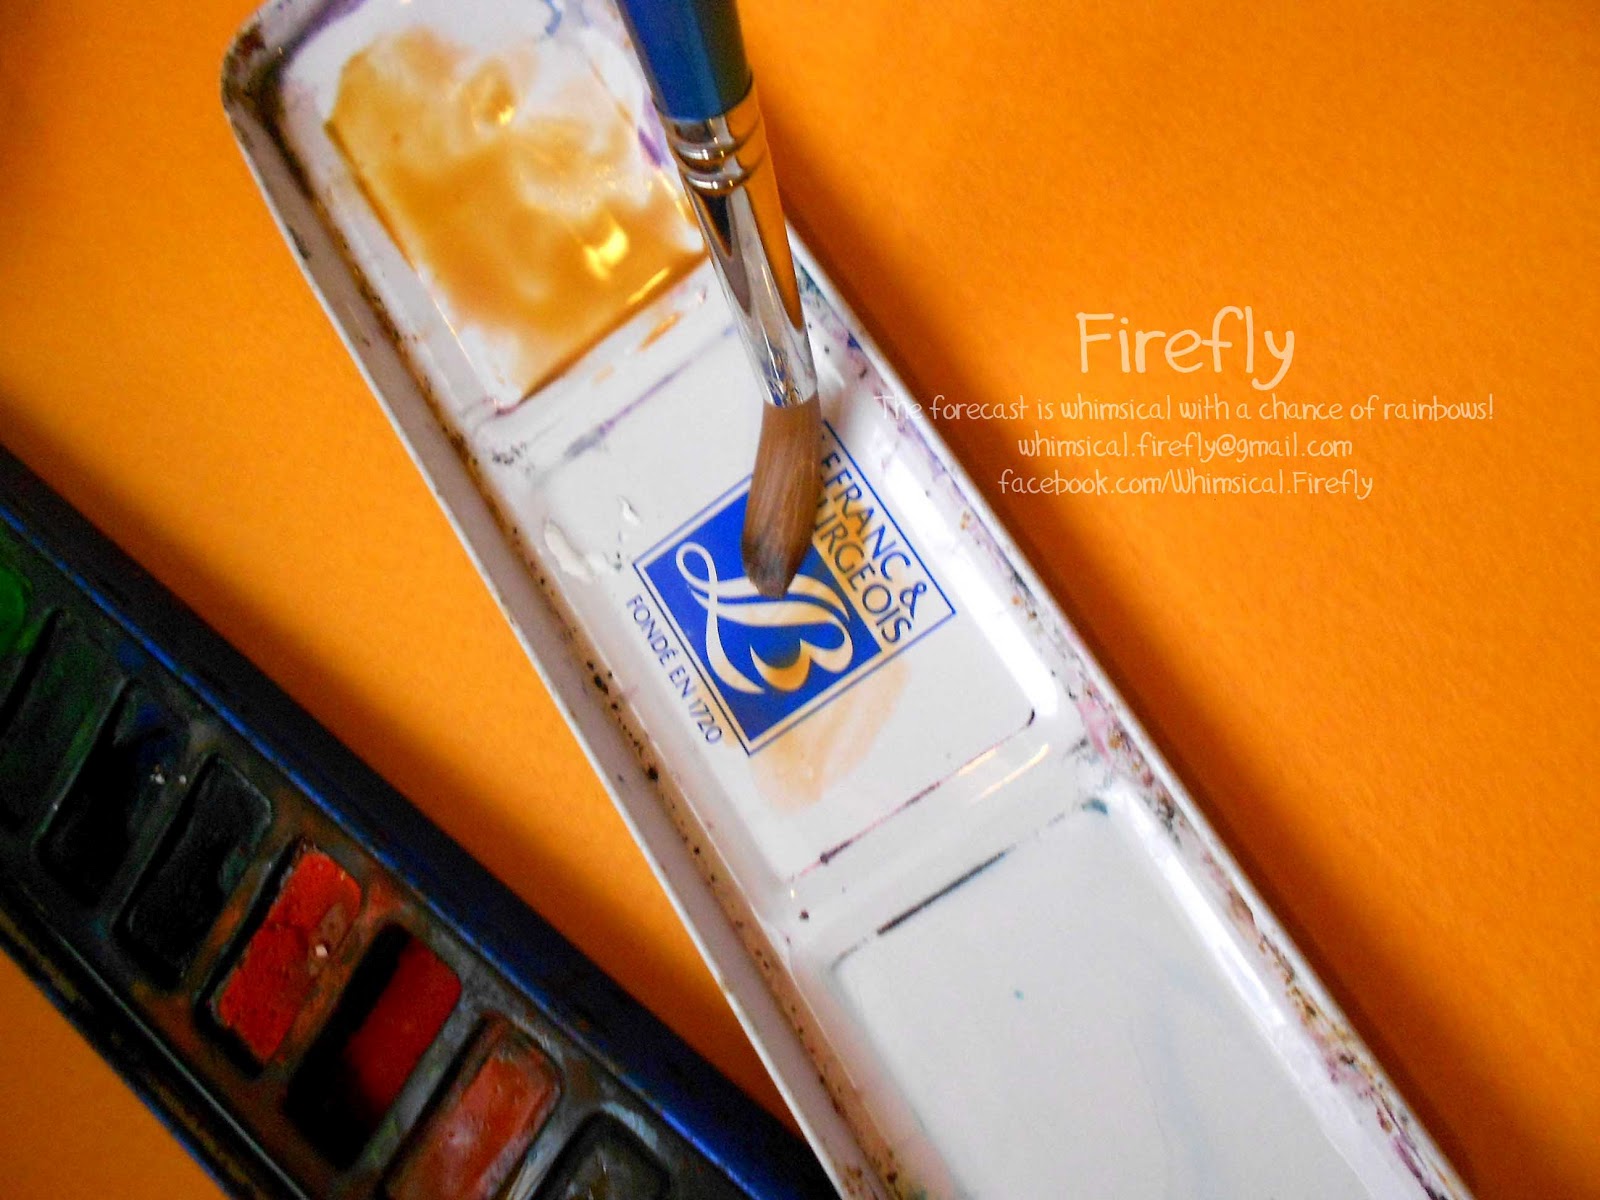

Trying to wear out excess... you won't want to blot your paper completely!


Going to run the brush over...


gently..


you see the edges?


a little more here.


Now the 'torn' distress look.


Begin tearing off the edge of your paper/scrap do it in a way only the first layer of paper comes apart.


I did it all around.


Distressing it


Voila :)


Instead of Watercolor, you can try these alternatives:

- Peanut Butter. YES! Peanut butter, smooth on some peanut butter over the edges of your paper to give it the stained and aged feel. The only draw back is, you'll be inviting fungus and ants.

- Lemon Juice and a candle... Take a cotton ball, dab it in a bit of lemon juice. Distress the edges or area you want to age. Light a candle. Over the flame, gently 'toast' your paper, keep it about 1.5-2 inches above the flame to prevent flames to your paper. You'll see the lemon juice will begin to colorize into a caramel tone.. works wonders :) If you want to 'burn' the edges, hold the paper edges at an angle, close enough so that the flame begins to add soot to the edges and they turn auburn/black. Don't over do it, you'll end up setting your studio on fire!


Instead of tearing the edges, you can try this:

- Dampen your sheet of paper in water, by gently blotting it in a tray or plate. When the paper begins to dry, take a tooth brush and begin brushing against the edges. You'll achieve a fuzzy look. :)

- Instead of blotting the paper in the tray with water, you can take a spray gun. Dampen your paper, and begin brushing away the edges for the distressed look :D

Monday, 9 July 2012

Roses I

Given I'm on a crafting spree and in between pretty much farigh... I figured I'd post more tutorials. Back in March I had begun to, but then with Umra, wedding preps, the wedding, and the post wedding frenzy, and the move to Hong Kong.. I really hadn't the time or space to do so.

So now that we're back to it. I'm going to share paper roses... well rather, how to make them :) There are two varieties, both look beautiful. The difference is one looks a little different and is done with a paper punch and crazy scissors, the other one is pretty basic, and I think most of you reading probably want to start off with something that doesn't require an imported paper punch. :) I'll post the tutorial on the punch roses next time. :)


These are the roses I did for my Print Making Minor in University. I did them on boxboard, newsprint and drawing sheets... some were even newspapers! All had impressions of my prints.

So let's get to it now!

You're going to need:
scissors
paper... printed ones give amazing effects!
glue
a pencil

I'd have done a video tutorial, but i haven't the tripod.. mine broke :(


I had this paper left over from the other day, so I decided to make the rose out of it.


Draw a 5 pointed flower like this... it really does not have to be perfect. :) Ideal size would be 2 or 2.5 inches. You can go larger or smaller :)


Fold your paper in 3 panels, so you get 3 flowers when you cut one out. Being a little time saver here.


I'll be erasing these pencil marks.


See.. 3 flowers.


There they are.


You're going to slit down between two petals on the first flower.


One the second and third flower, you'll cut one petal, and two petals as show above.


Now you pull out the uhu.. The flower with the slit, add a drop of glue to one petal, and paste the other over it. 


You'll get something like that.


Do the same for the next few pieces, glue one petal over another.
For the two petal cut out, just roll it like you would for a cone... adhere on the corner edge.


You'll get something like this.


To achieve the 'rose' petal feel, I curl my petals under. Super easy to do, just use your fingers to bend the petal outward and under.


Those are your petals forming into the rose bud...


Once you've done this for all 5 pieces, you can start stacking them for your rose.
Just add a spec of glue in the center on each layer.


Now two of them are going to be super narrow and long, you can snip those. :)


Once they're all on there... you'll have something like this :)


I distressed mine... 

Wasn't that a breeze? Leave your comments below, would love to have some feedback, especially if you try these for yourself :)

Sunday, 8 July 2012

something for granny...

This was a super special piece I did on request, but sadly because of timing, it didn't quite go to the person it was for..


in any case, here's a wall hanging. It hangs about 10 inches long and is about 4 inches wide. They are three ovular discs binded with ribbon. Each one has been decoupaged with modge podge. The printed cardstock is by Basic Grey's Origins Collection. The embellishments are miscellaneous prima flowers, kaisercraft and some bling. :) The text has been printed on the origins paper. The layers have been embossed with butterflies and texture stamps.. in gold. Very slightly visible, but there none the less :)

Hope you guys like this piece. And Nida, if you're seeing it, I hope you like it too. x

Saturday, 7 July 2012

Scrapbook Layout


I have a stash of crafting papers about 10 inches high which are just pleading me to get to work with some scrapbooking. I haven't done it in so long! My entire year last year was overwhelmed with final year university madness, and the spare time I had I was scrapbooking for others. -_-; So while I'm on 'holiday'.. ie temporarily free of 'duties'... I thought I'd piece together something for myself, or rather 'us'.

This wasn't one of my totally spontaneous pieces because the size of the layout/project itself was a little larger than what I usually work with... 12x12 inches. I had to plan and be precise, crafting it was fun none the less. :D

I love vintage, so naturally the theme was fixed when I thought about what I wanted. I used the following to piece together this layout:


-Grant Studios Papers
-Glitz Paper
-Prima Flowers
-Kaisercraft Flowers
-Findings from a random bazaar in Hong Kong which include the butterfly and key
-Bo Bunny trinkets, ie the Flower on top
-Rhinestones by Doodlebug and Kaisercraft
-Tim Holtz stamps
-Ranger Archival Ink, black and russet
-Colorbox pigment ink
-Kaisercraft texture stamps
-K&Company Diet Cut tags and Journaling Cards

I cut out the bird and floral silhouette from the first paper... and lined it up with the second.

I had two silhouettes then to work with as a border/frame.


The doily sort you see beneath the photo is a journaling card I cut in half... didn't want a whole in your face sort of block :)


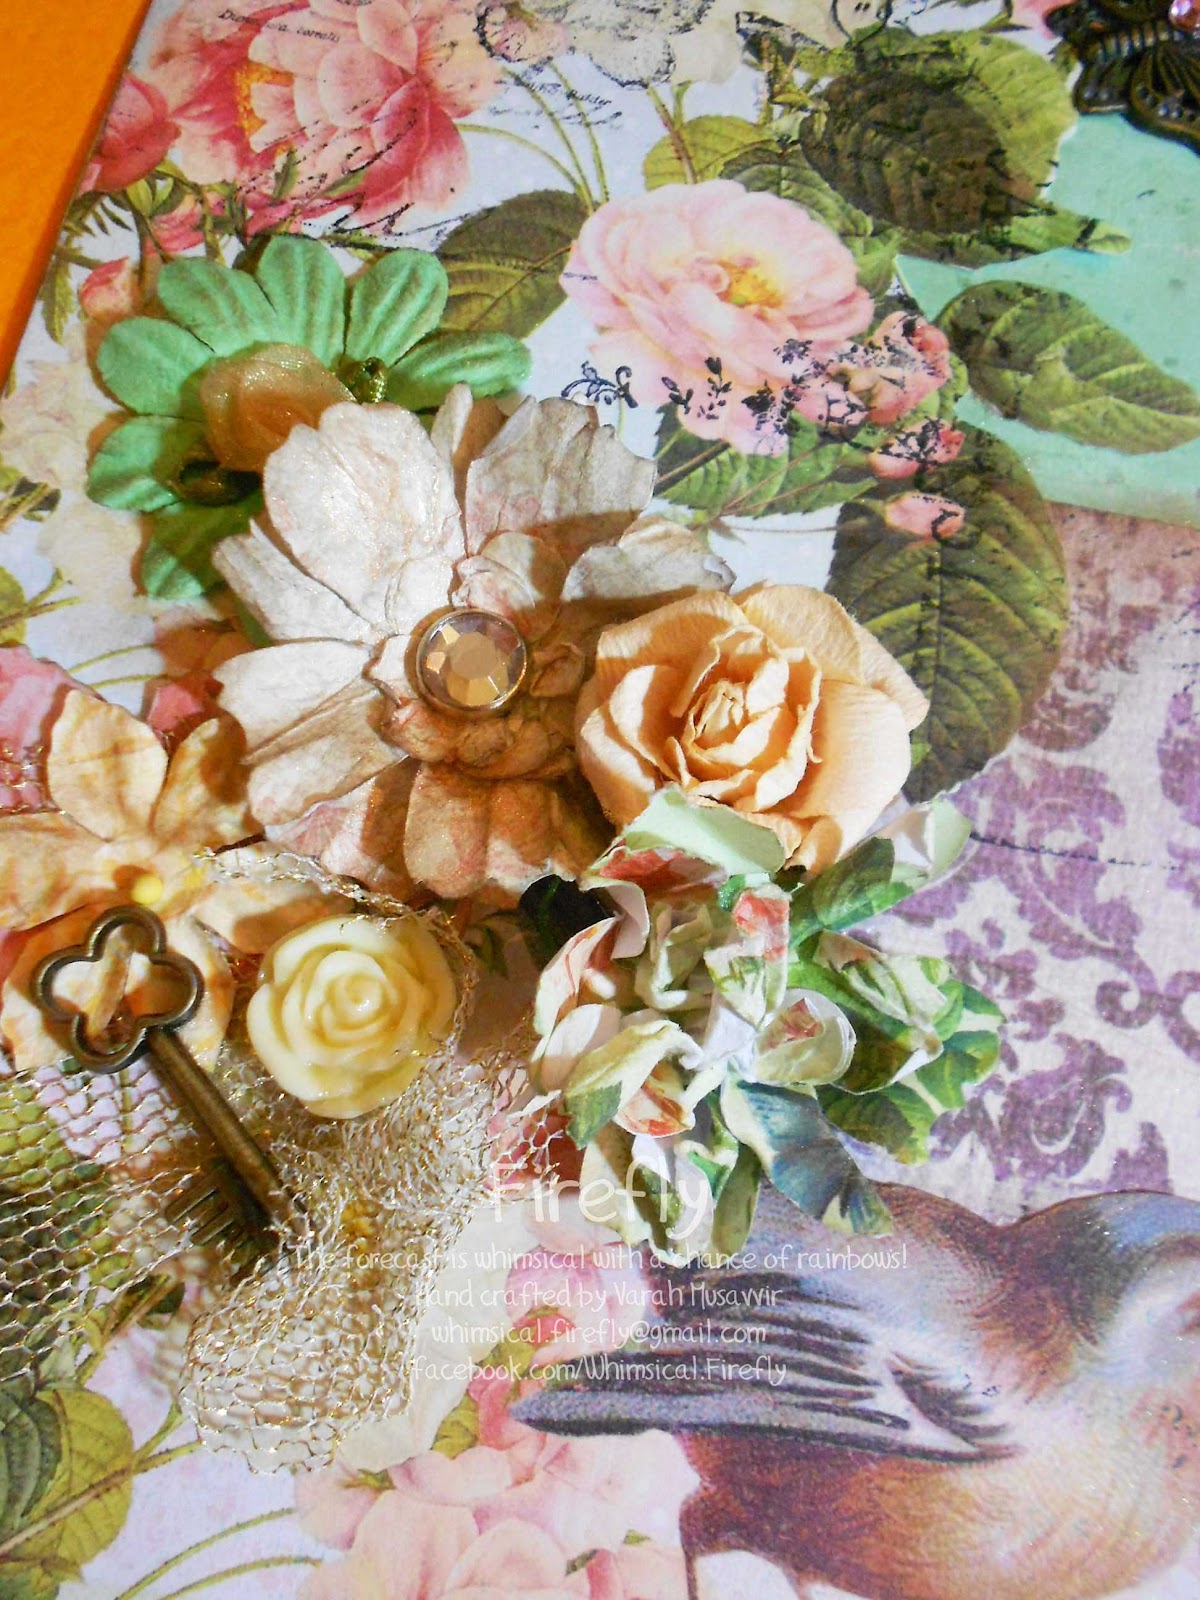
I began to build a collage near the bird, I used some flowers I made myself.. and a couple of ready made ones. I layered them over the golden net mesh I had and topped it with a key...


Same thing here... distressed the tag and the edges of the paper.


That's a bit of stamped imagery and gold dust. :) 


Some more stamping and the metal butterfly. I love printmaking, and I thought I could achieve the same look by layering stamps with text and the butterflies...


a close up.


there is actually stamped imagery in the same sea green as well as black, for layering and dimension.


gold dusted flowers and the journaling spot.


can you see the stamped images and distressed edges?

The corner left has some prose I wrote for my husband. Adds the personal touch there :) I used this photograph because of the sentiments it carries.. and the idea of the black and white was to be a center of focus in the middle of all the vintage and pretty pretty things :)

Friday, 6 July 2012

Scavenger hunt Entries

Our entries for the Scavenger Hunt so far :)


Shama Iftikhar
Rida Usmani
Areeba Behzad Khan
Ghunwa Memon
Manaal Memon
Rooman Abrar
Amna Memon
Fyxa Adeel
Sonya Khushi
Marium Khalid
Ameera Abassi
Noveen Siddiqi
Hashim Javaid
Anushay Khan
Umtus Sanna
Muhammad 
Shehroze Sultan
Riffat Alam
Aatira Mushtaq
Mahnoor Munaf
Mariya Azam
Sahar Siddiqi
Alina Imtiaz
Funk Punk's Owner
Fakhra Yusuf
Rija Bakhtiar
Mirror Owner
Aliya Aliyaa
Fatima Yusuf
Xnb Haji
Hafsa Awais
Mariam Zehra
Maham Faisal
Sumaiya Yahya
Muneeb Brohi
Sana Hayat
Xahra Iqbal
Asma Khurram
Koi Nahi
Shiffa Delawer

C-dra Azher
Dia Zehra
Nayab Zehra
Sara Asif
Mahnoor Naveed
Mashal Hassan
Hina Rizwan
Yusra Muridudin Rizvi

Studioc Upcake
Mahnoor Malik
Iqra Nasir
Hiba Isshh
Huda Farooqui
Batool Memon
Fouzia Iftikhar
Syeda Tameem Syed
Zarnish Zubair Ahmed 
Kiran Afzal
Najia Kazmi
Kanza Hasan

Anoshae Kamran
Zahra Kamran
Rabia Saad
Fozia Shuja
Hira Khan
Rafia Amr
Shahnawaz Alinawaz
Related Posts Plugin for WordPress, Blogger...